
In today’s digital age, your Aadhaar card is more than just an ID proof; it is the key to accessing numerous government and financial services. Whether you are filing income tax returns, opening a bank account, or availing of government subsidies, a valid mobile number and email ID linked to your Aadhaar are crucial. These details ensure you receive One-Time Passwords (OTPs) for authentication and stay updated on important alerts.
If you are unsure which mobile number or email address is currently associated with your Aadhaar, or if you simply want to verify your records, the Unique Identification Authority of India (UIDAI) offers a simple online facility to do so.
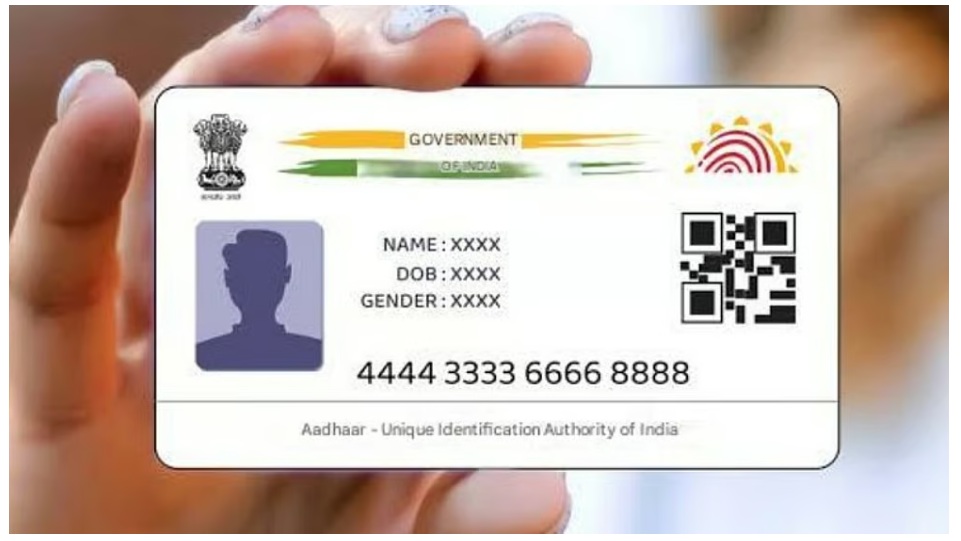
Here is the complete, simplified process to check the status of your contact details linked to your Aadhaar.
Why Verification Matters
Before diving into the steps, it is important to understand why this check is necessary. An active link ensures:
Seamless Transactions: OTPs for banking and official validations reach you instantly.
Security: You are immediately alerted if any changes are made to your data.
Fraud Prevention: Verifying your details ensures that no unauthorized number is associated with your identity.
How to Verify Your Mobile Number and Email Online
You do not need to log in or remember complex passwords. Follow these straightforward steps on the official UIDAI portal:
Step 1: Access the Official Portal
Open your web browser and visit the official UIDAI website (uidai.gov.in). Alternatively, you can go directly to the myAadhaar portal at myaadhaar.uidai.gov.in.
Step 2: Locate the Service
On the homepage, scroll down to the section labeled “Aadhaar Services.” Look for the option that says “Verify Email/Mobile Number” and click on it.
Step 3: Choose Your Verification Type
You will be directed to a new page titled “Verify Email/Mobile Number.” Here, you will see two radio buttons:
Verify Mobile Number
Verify Email Address
Select the option corresponding to the detail you wish to check.
Step 4: Enter Your Details
Enter Aadhaar Number: Type in your 12-digit unique Aadhaar number.
Enter Mobile/Email: Input the specific mobile number or email address that you believe is linked to your card.
Captcha Verification: Accurately type the alphanumeric code displayed on the screen into the box provided.
Step 5: Send OTP
Click on the “Send OTP” button.
If the details match: A message will flash on your screen stating, “The mobile number/email you have entered is already verified with our records.” This confirms that the number you entered is indeed the one linked to your Aadhaar.
If the details do not match: The system will alert you that the entered mobile number or email does not match their records.
What If Your Number Is Not Linked?
If the online verification fails or shows a mismatch, it likely means your current number is not updated in the database. Please note that linking a new mobile number or email ID cannot be done online for security reasons.
To update your contact details:
1. Visit your nearest Aadhaar Seva Kendra or Aadhaar Enrolment Centre.
2. Fill out the Aadhaar Update/Correction Form.
3. Submit your biometric details (fingerprint or iris scan) for authentication.
4. Pay a nominal fee (usually ₹50) for the service.
Keeping your contact information current is a small step that safeguards your digital identity and ensures you never miss critical communication regarding your Aadhaar.